In the world of smart homes, automation is no longer just a buzzword; it’s a reality that enhances our everyday living. One of the most impactful areas of automation is lighting. Imagine walking into a room and having the lights automatically adjust to your preferences or turn off when you leave—all without lifting a finger. This not only adds convenience but also contributes to energy efficiency and cost savings.

Understanding the Basics: Why Automate Lighting?

Automating lighting creates a seamless and efficient home environment. Here are some compelling reasons to consider this upgrade:

  • Energy Efficiency: Motion sensors ensure lights are on only when needed, reducing energy waste.
  • Convenience: Hands-free operation means you never have to fumble for a switch in the dark.
  • Security: Automated lighting can simulate occupancy, deterring potential intruders.
  • Customization: Tailor lighting to your preferences for different times of day or activities.

Types of Sensors for Lighting Automation

Before diving into the setup process, it’s crucial to understand the types of sensors available:

Motion Sensors

These are the most common sensors used in lighting automation. They detect movement and turn lights on or off accordingly. They’re ideal for areas like hallways, bathrooms, and garages.

Daylight Sensors

Also known as light sensors or photocells, these devices adjust lighting based on the natural light available. They’re perfect for rooms with large windows where sunlight may reduce the need for artificial lighting.

Occupancy Sensors

Similar to motion sensors, occupancy sensors detect the presence of people in a room. They are more sophisticated as they can differentiate between someone leaving a room briefly and vacating it entirely.

Smart Switch Sensors

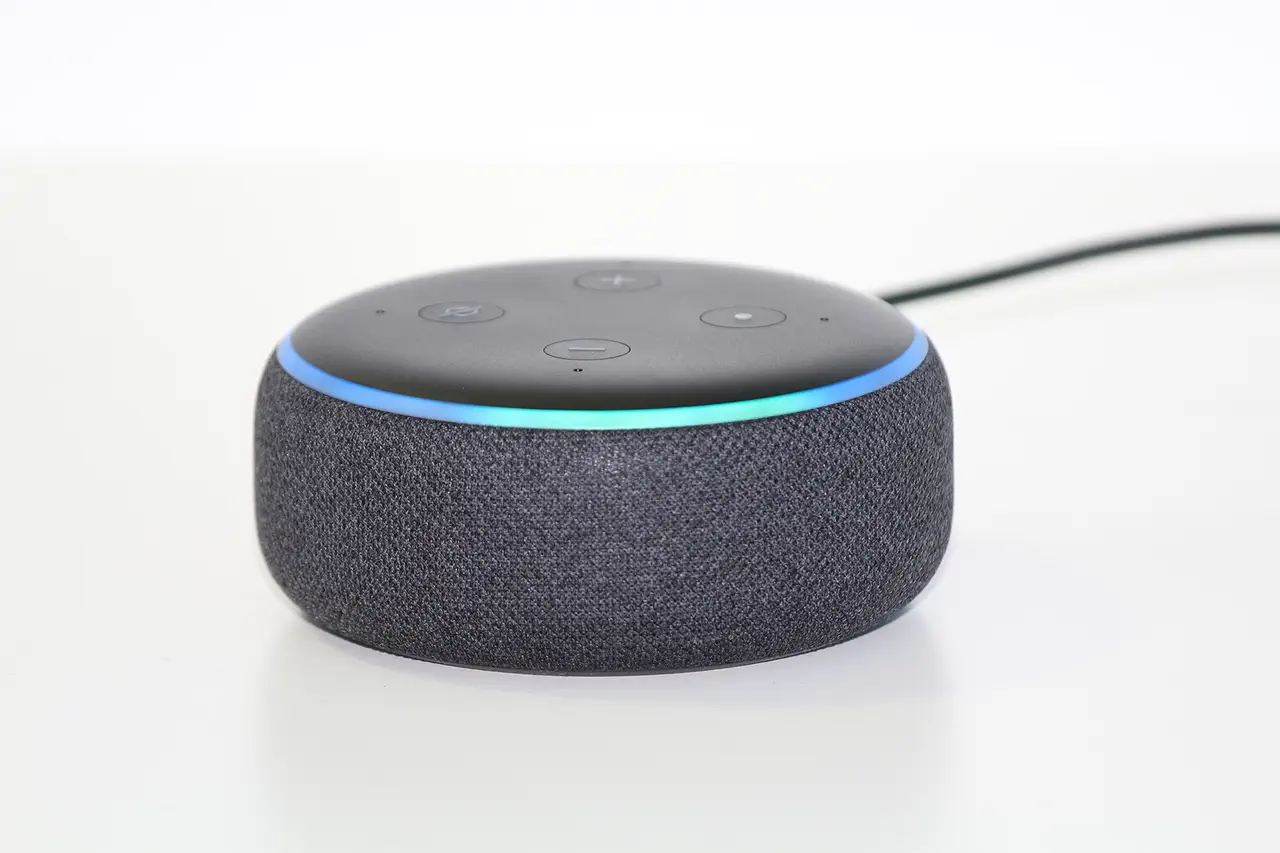
These are integrated with smart home systems, allowing you to control lighting through an app or voice commands. They often come with additional features like dimming and scheduling.

Planning Your Lighting Automation Project

Successful automation begins with careful planning. Follow these steps to ensure a smooth implementation:

Assess Your Needs

Consider the following questions:

  • Which areas of your home see the most traffic and would benefit from automated lighting?
  • What type of activities occur in each room, and how can lighting enhance them?
  • Are there specific times when certain lights should be on or off?

Create a Layout Plan

Map out your home and decide where each type of sensor would be most effective. This could involve placing motion sensors in hallways and entryways, daylight sensors in living rooms, and smart switches in bedrooms.

Set a Budget

Determine how much you’re willing to spend on your automation project. This will help you prioritize areas to automate and the types of sensors to use.

Choose Compatible Devices

Ensure that the sensors and smart switches you select are compatible with your existing smart home system. Brands like Philips Hue, Lutron, and Ecobee offer a range of products that integrate seamlessly with platforms like Amazon Alexa, Google Assistant, and Apple HomeKit.

Step-by-Step Guide to Installing Lighting Sensors

Once you’ve laid the groundwork, it’s time to install your lighting sensors. Here’s how:

Step 1: Gather Your Tools and Equipment

Before you start, make sure you have all necessary tools such as screwdrivers, wire strippers, and a voltage tester. You’ll also need your selected sensors and any additional smart home integration devices.

Step 2: Turn Off the Power

Safety first! Always turn off the power at the circuit breaker before working with electrical systems. Use a voltage tester to confirm that no electricity is flowing to the circuit.

Step 3: Install the Sensors

  • Motion Sensors: Mount the motion sensor at a height where it can effectively detect movement, usually between 8 to 10 feet. Follow the manufacturer’s instructions for wiring and mounting.
  • Daylight Sensors: Place these near windows but away from direct sunlight to avoid false readings. Adjust the sensitivity settings to suit your lighting preferences.
  • Smart Switch Sensors: Replace existing switches with smart switches by connecting the corresponding wires. Ensure the switch is compatible with the existing wiring system.

Step 4: Configure the Sensors

Use the sensor’s app or control panel to configure settings. This might involve setting the sensitivity, adjusting the time delay before lights turn off, and integrating with your smart home system for remote control.

Step 5: Test Your Setup

Turn the power back on and test each sensor to ensure it’s functioning correctly. Walk around to trigger motion sensors, check daylight sensor adjustments at different times, and operate smart switches via your app.

Enhancing Your Automated Lighting System

With the basics in place, consider the following enhancements to take your system to the next level:

Integrate with Other Smart Home Devices

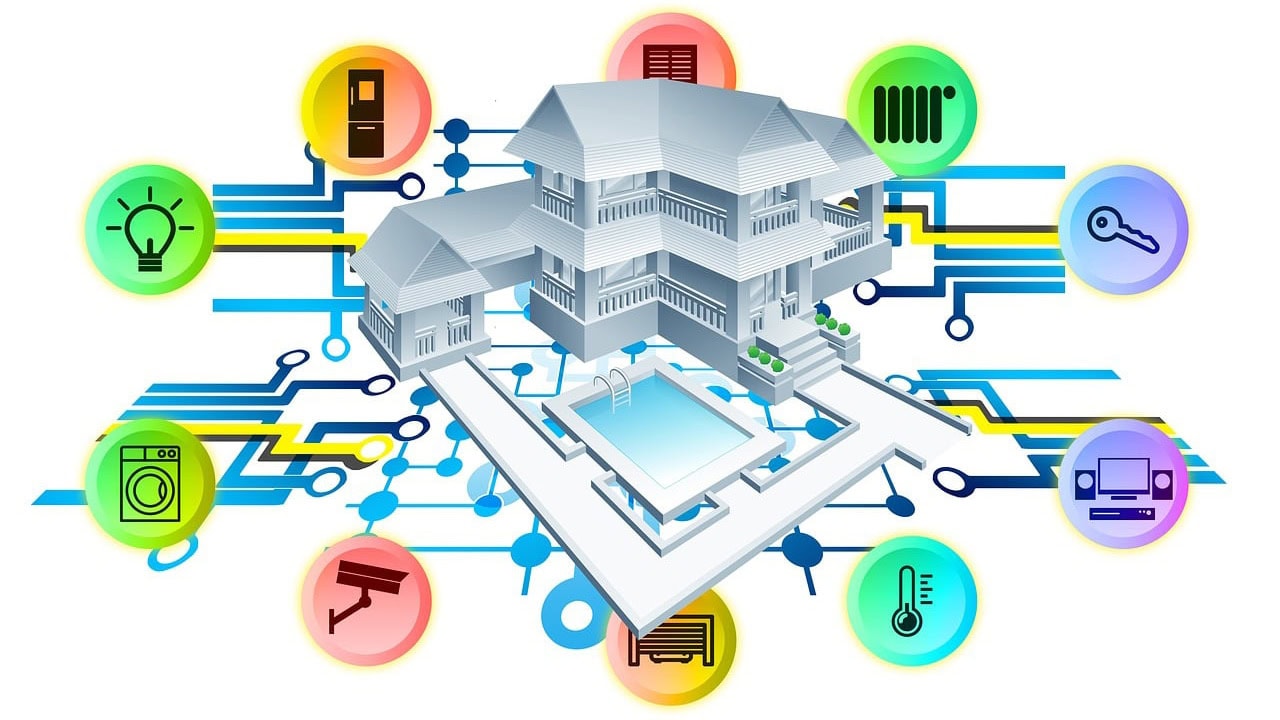
Connect your lighting sensors with other smart home devices for a more cohesive experience. For example, link them with smart thermostats for energy savings or with security cameras for enhanced safety.

Create Lighting Scenes

Use your smart home app to create scenes that align with your lifestyle. For instance, set a “Relax” scene that dims the lights and plays soft music, or a “Wake Up” scene that gradually brightens the lights in the morning.

Monitor Energy Usage

Use smart home analytics to track energy consumption. This can help you understand usage patterns and identify further opportunities for savings.

Conclusion: Embrace the Smart Living Revolution

Automating lighting with sensors is a powerful way to enhance your home’s functionality, comfort, and efficiency. By understanding the types of sensors available, planning your project carefully, and following a step-by-step installation process, you can create a smart lighting system tailored to your needs.

Embrace the smart living revolution, and enjoy the convenience and benefits of automated lighting for years to come.