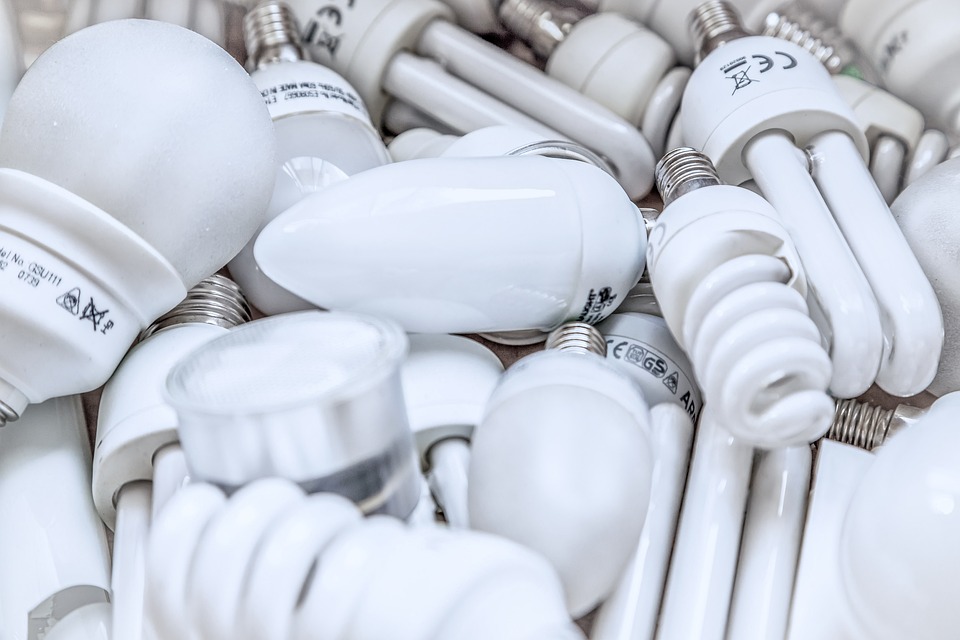
Energy & Efficiency
Learn how smart home technology can reduce your energy consumption and lower utility bills while maintaining comfort.
Save Energy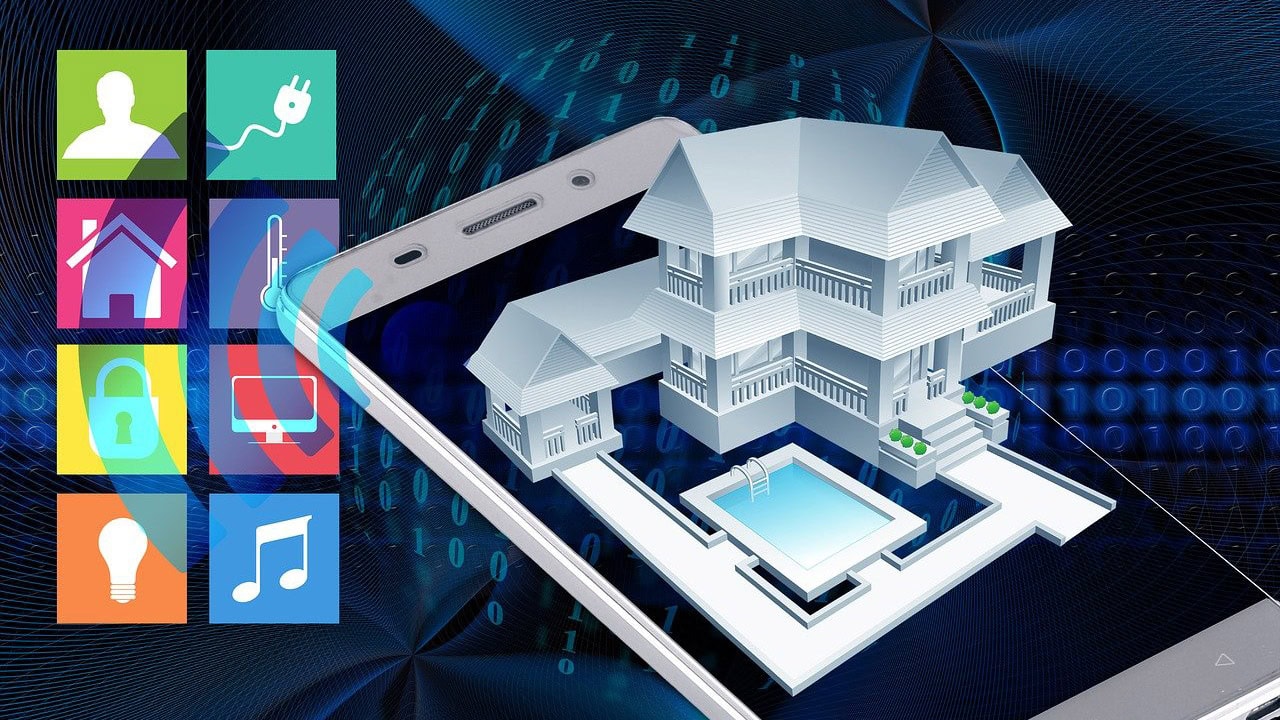
New to smart home technology? We'll guide you through the basics, from choosing your first devices to building a comprehensive smart home ecosystem. Learn about compatibility, setup, and best practices for beginners.
Explore Guides
Discover the latest smart home devices and learn how to integrate them into your daily life. From smart plugs and bulbs to thermostats and security systems, we cover the devices that make your home truly intelligent.
View Devices
Protect your home and family with smart security solutions. Learn about smart cameras, doorbells, locks, and alarm systems. We provide comprehensive guides on installation, configuration, and best security practices.
Secure Your HomeExplore our most popular smart home technology topics and discover how to transform your home into a connected, efficient, and secure living space.
Learn how smart home technology can reduce your energy consumption and lower utility bills while maintaining comfort.
Save Energy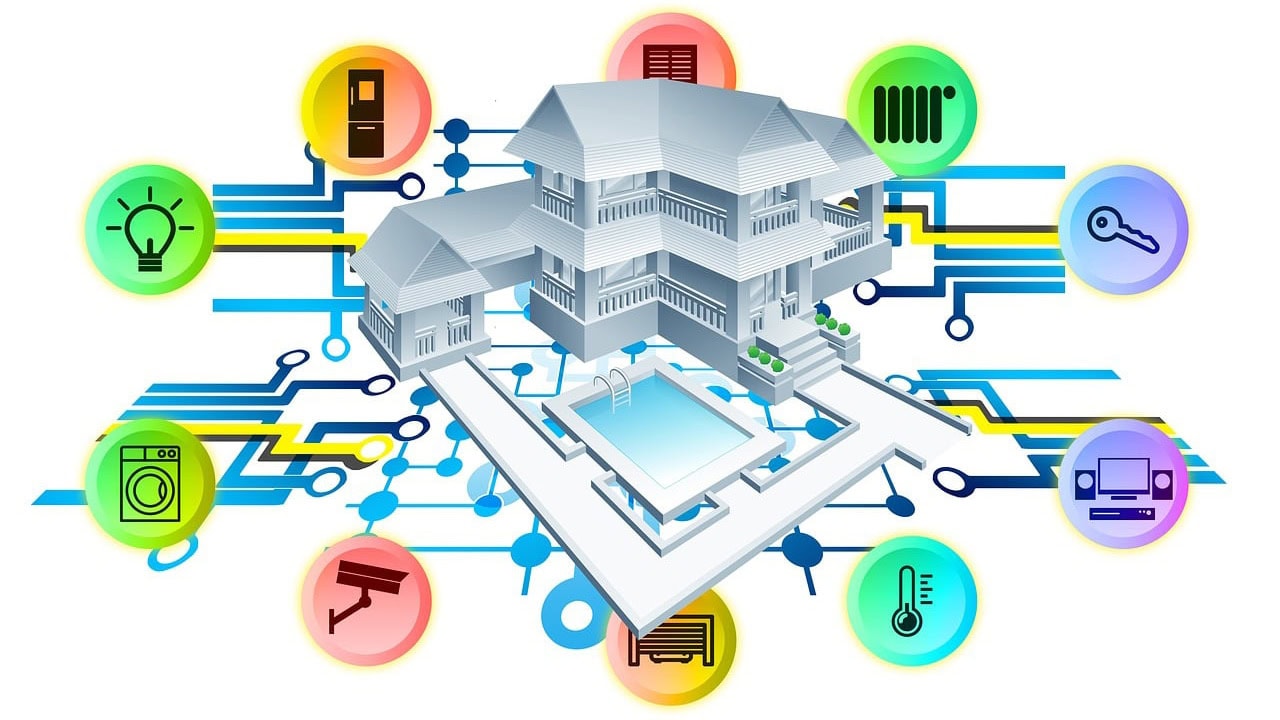
Discover how to automate your daily routines and create a truly intelligent home that responds to your needs.
Automate Now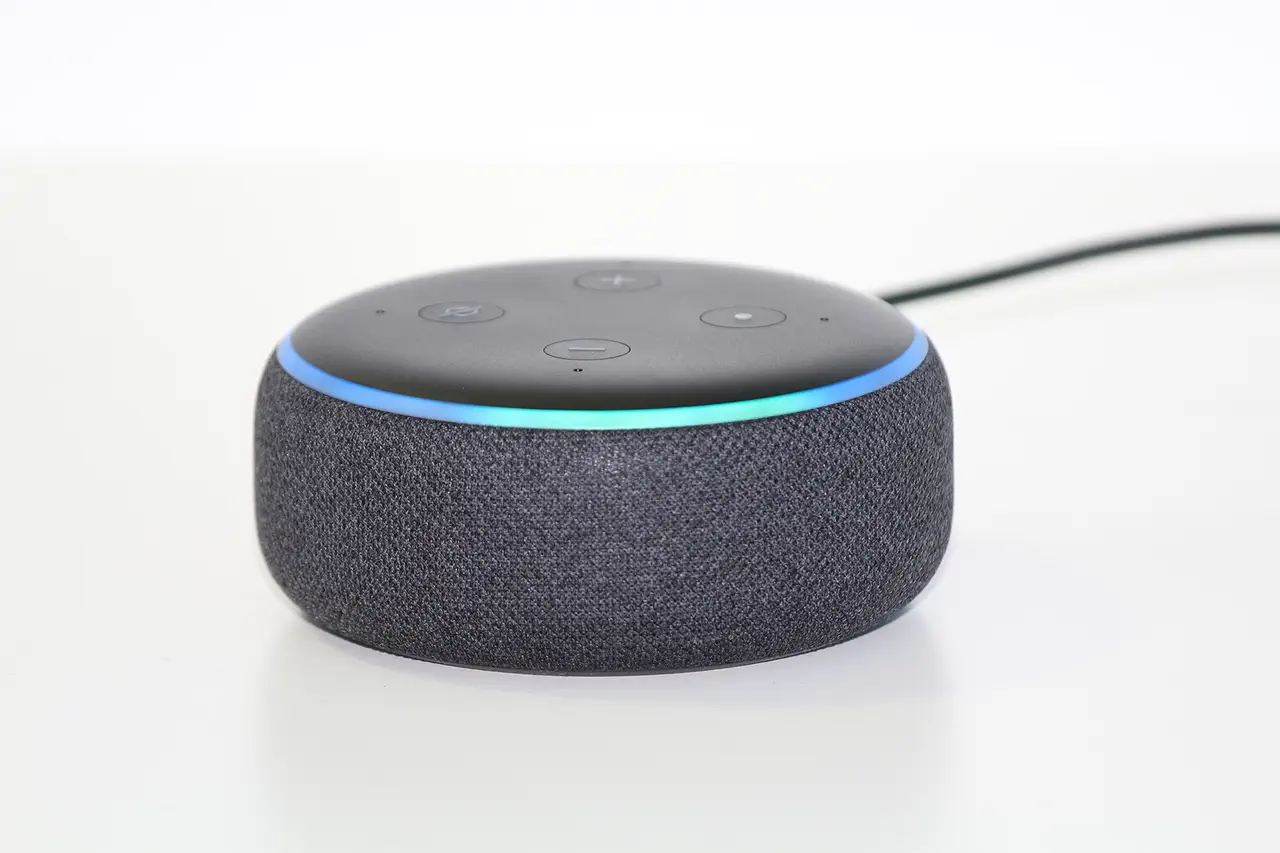
Master Alexa, Google Assistant, and other voice technologies to control your smart home with simple voice commands.
Voice Control
Build a robust home network that can handle all your smart devices with optimal performance and security.
Optimize Network